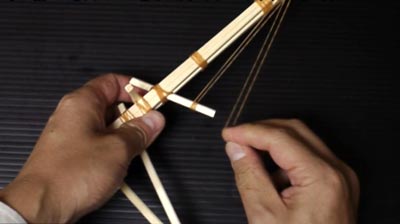
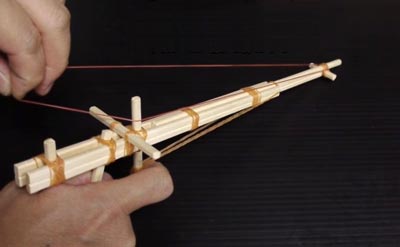
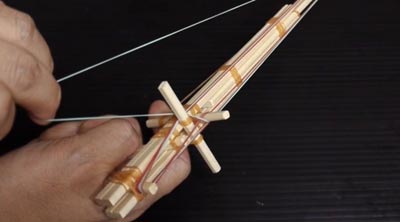
(12) Stretch 1-2 rubber bands through the Barrel-Base from the Trigger-End as the Trigger-Spring.
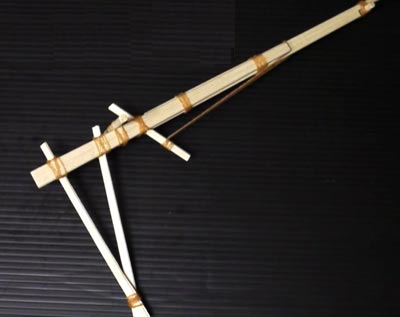
(13) Completed.
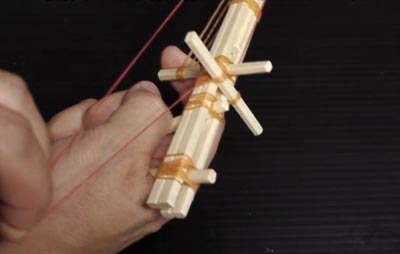
(14) Pull the Trigger a little and keep it in neutral position until all loading.
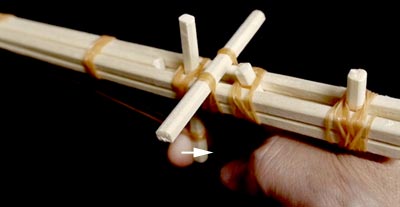
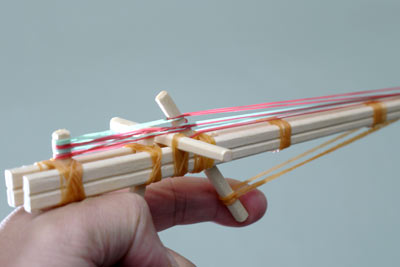
(15) Hook a rubber band to the Muzzle-Piece,
(16) Pull it to the Trigger-Top,
(17) Pass it under the Un-Burst-Bar and pull it back more,
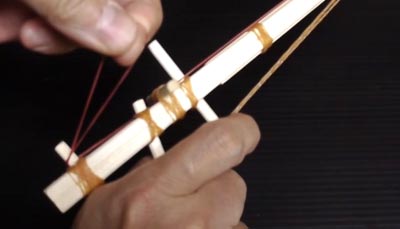
(18) Wrap it at the Rear-Grip,
(19) Hook it to the Trigger-Top from the back.
Yet keep the Trigger in neutral position.
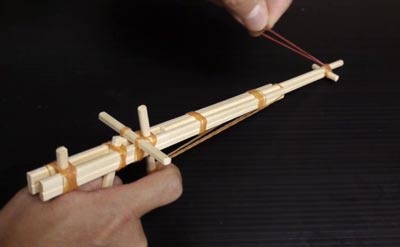
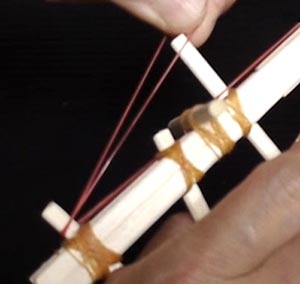
(20) Continue to load 3 rubber bands with same way.
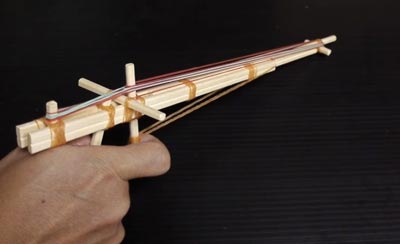
(21) Only the last 5th rubber band, you must load it straight at the Muzzle-Piece and Trigger-Top.
Then the 5 rubber bands are loaded.
And you may take your finger off the Trigger.
When you pull the Trigger, only the top rubber band is released forward.
Next rubber bands are never released.
Because the tension is working backward.
When the Trigger is returned, next band slips out backward and is set to the Trigger-Top again after turning around the Rear-Grip and Un-Burst-Bar.
On rare occasions (for example, the work quality and the loading condition.... etc. ), a rubber band is released backward and you might be hit your face or eyes by it.
Please use this content at your own risk. I am not responsible for such accidents.
Please watch videos
Tutorial video 1 - how to make
Tutorial video 2 - how to shoot
2011.11.23 UP